 The necessary materials required for testing soil pH level from your home or kitchen are; distilled water, baking soda, and vinegar.
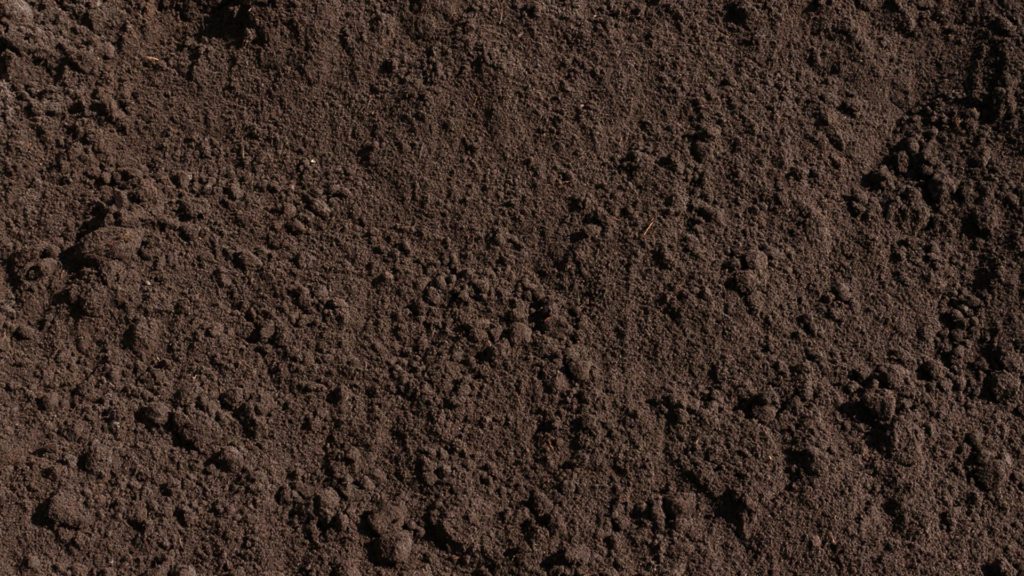
Soil pH level is very important as it influences many other factors which impact plant growth. The pH level of the soil determines if the plants will absorb the nutrients in the soil or not. Especially when the pH level is too high (alkaline) or too low (acidic). So it is very important you get the soil pH right at the required range needed for plants’ root system to absorb nutrients.
If you see any healthy flower and vegetable, the secret to the success of such a plant is the soil. So how do you know if your soil is in good condition to provide what the plant needs? A soil test is the key.
Many people think they have to take their soil samples to the agricultural service laboratory or to use soil kit to get the necessary information about the status and type of soil. And to know how well the soil can be used to benefit the plant. You don’t have to. You can check for your soil status at your home.
There are some questions you must answer before you do a soil test. Why do you need to test your soil pH level? Why do you need to know if it is acidic or alkaline?
Knowing your soil pH is essential in understanding if the major nutrients and minerals are available in the soil for plant use. There are ways of testing the soil yourself without going to the lab. You will get good results to know if the soil is in good condition for your plants.
Before you begin any test, you need to learn more about your soil. This can help you do the necessary things required for the soil to be ideal for plants to grow. You should learn about soil drainage, texture, acidity, composition, and mineral density. With this knowledge, you can prevent any possible disappointing results which can occur from your soil not being in the right condition for planting.
Soil Test 1: The Squeeze Test
Soil composition is one of the most important characteristics of the soil. Generally, soils are classified into loamy, sandy, and clay soils. Sandy soil drains quickly but does not retain moisture and nutrients. Clay soil is rich in nutrients but doesn’t drain well. Loamy soil retains moisture and nutrients moderately and drains moderately. It is generally referred to as the best soil for plants to thrive.
To test your soil type using the squeeze test:
Take a handful of moist soil from your garden and squeeze it firmly. Open your hand, and then observe closely. One of the following will happen
- The soil will remain in the squeezed shape, and when you poke it lightly, it breaks. This means you have a rich loam.
- The soil will retain its squeezed shape, and when you poke it lightly, it stubbornly returns and sits in your hand. This means it is clay soil.
- The soil Fall Apart immediately when you loosen or open your hand. This shows your soil is Sandy.
Once you know the type of soil in your garden, it is easier to work on improving it.
Soil Test 2: The Percolation Test
It is necessary to know if your soil has a drainage problem or not. Not all plants can survive when the root system is too wet. Culinary herbs can’t stay long when the roots are too wet for long.
To determine your soil drainage;
- Dig a 1-foot deep and 6-inch wide hole.
- Fill the hole with water and allow it to drain totally.
- Fill the hole with water again
- Observe while it drains to know how long it takes to drain.
If it takes the soil 4 hours or less to drain then you have good soil drainage. But if it takes more than that the drainage is poor.

Soil test 3: The Worm Test
Worms are relevant indicators of soil health. It is relevant regards the biological activity of soil. If soils have earthworm, there is the possibility that it has important bacteria and microbes which makes the soil healthy and the plant-strong. To carry out worm test ensure the soil temperature is around 55 degree the least. It should also be moist not so keenly wet.
Dig a hole into the soil at one foot deep and one foot across. Then place the soil on cardboard or tarp. Examine the soil by sifting through placing your hand in the hole to count the earthworms as you go down. If the earthworms are at least 10 then you have good soil. But if it is less it means the soil don’t have enough organic matter. This means the soil is either too alkaline or acidic, or the organic matter cannot support a healthy worm population.
Soil test 4: The pH Test
Your soil pH acidity level determines how well your plants grow. pH level ranges from 0 to 1 4 with 14 as very alkaline and 0 as very acidic. Soil with neutral pH level between 6 and 7 is the best condition for plants to grow. But when the pH level is higher than 8 or lower than five plants don’t grow well.
Testing soil acidity or alkalinity without a kit
The pantry pH test for soil acidity or alkalinity:
- Put 2 tablespoons full of soil in a container of bowl.
- Add half-cup vinegar.
Result; if the mixture cracks then you have an alkaline soil
- Put 2 tablespoons full of soil in a container or bowl.
- Add distilled water to moisten it.
- Add half baking soda.
If mixture cracks, the soil is acidic.
These are inexpensive and simple ways to provide your garden with the best foundation possible.

Can u apply soil fertilizer and liquid fertilizer on the cocoa plant at the same time or in the same month
I don’t think it is economical. Liquid or solid fertilizer, they both perform same function. Moreover, the demand for fertilizer application should be base on soil fertility status/soil test.